Here’s a unique guide for patching drywall:
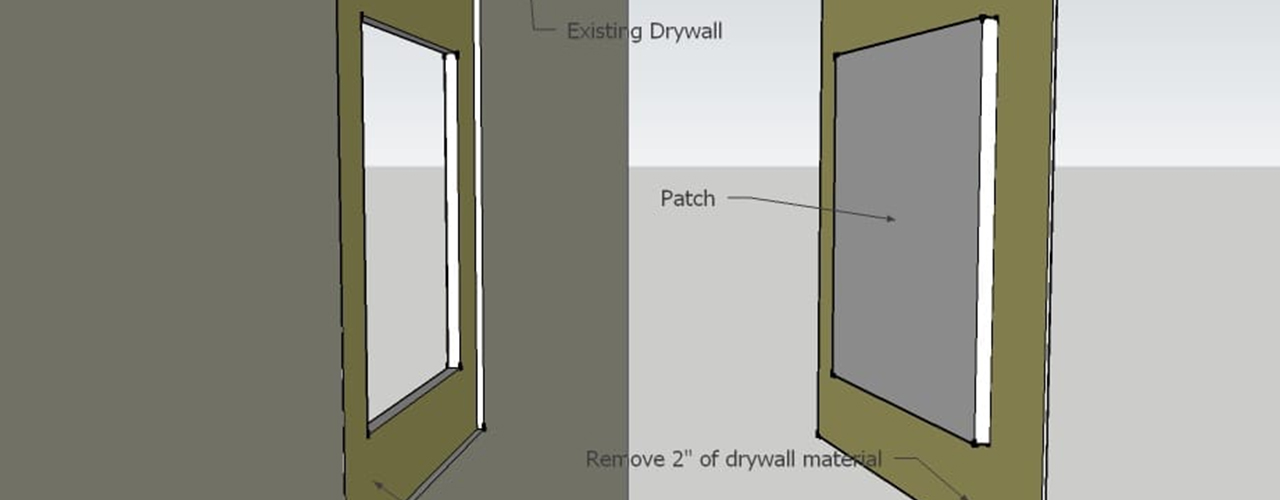
Before you start cutting out the damaged area, take a moment to inspect the wall for any obstructions such as wires, pipes, or ducts. These obstacles can complicate the repair process, but with careful planning, you can work around them. Use a drywall or keyhole saw to carefully maneuver around any obstructions. Alternatively, make shallow cuts with a sharp utility knife, scoring the line repeatedly until you can remove the damaged section.
When it comes to adding backer boards, it’s better to be safe than sorry. Cut the backer boards approximately 4 inches longer than the height of the hole, using soft wood like pine. Hold the boards firmly against the backside of the drywall while fastening them to ensure a secure fit. Be cautious of screw points popping out the backside, and sink the screwheads slightly below the drywall surface.
Next, measure the thickness of the drywall (typically 1/2 inch) and search for a suitable scrap piece at a home center instead of purchasing a full 4 x 8-ft. sheet. Cut the scrap to size and screw it into place, spacing the screws every 6 inches.
Taping the edges of the patch is where the real finesse comes in. Purchase a gallon tub of drywall compound and a roll of paper tape for this step. While mesh tape can be used, it’s not as strong. If you have numerous repairs to tackle, consider investing in a sack of 20-minute setting compound for filling cracks and gaps. Smooth results can be achieved with flexible 6- and 10-inch taping knives.
Apply a coat of compound and tape to each joint, thinning the compound slightly with water to aid tape embedding. Use the 6-inch knife to smooth the tape from the center towards each end, squeezing out excess compound to avoid creating bumps. Apply a light coating to the topside of the tape, tapering it onto the wall.
Subsequent coats are aimed at blending and smoothing the taped joints for a seamless finish. After each coat dries, use a straightedge to check for any imperfections, and sand off any bumps or ridges with your taping knife.
“Repeat the process as needed, then sand, prime, and paint for a flawless result”